


A Quick Guide to Installing Your Steel Above Ground Pool
A steel above ground pool shouldn’t cost you the earth to have installed in your garden - with 2-3 people to help you and some simple hand tools you could have your pool up and running in a weekend!
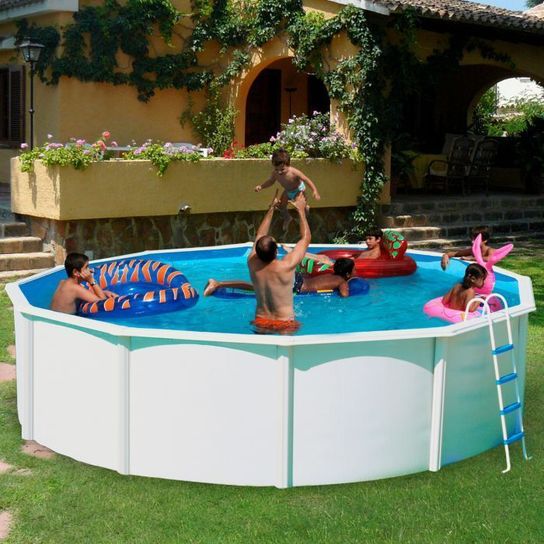
White Coral Prestige Steel Pool
At Splash & Relax, we stock both White Coral and Doughboy Steel Pools in a range of sizes and shapes. Each model comes with concise preparation and installation instructions but to give you an idea of the how you can do it yourself, here is our quick guide:
Choosing the right location
This is the most important decision in your preparations for installing your steel above ground pool. A flat, level area of ground is best and will be the easiest to prepare. When deciding the placement of your pool, you should also consider the following:
- Is the area close to a water supply and does your hose reach to the pool?
- Is there an outside power supply nearby for connecting and running the pump?
- Is the location sunny without any overhanging trees, branches or bushes?
- Will the pool be clearly visible from the house?
- Does the area have good drainage around and away from the pool and the house? Or is there a drain that can be accessed nearby?
- Is the area within your property boundary and do you have space to move freely around all sides of the pool?
- Where do your underground utilities run? Do they pass under your garden or the area that you are considering for your pool?
Preparing the Ground
Now that you know where you want to place your pool, it’s time to prepare the ground.
Measure out and mark the pool dimensions onto the ground adding 1ft all the way around so that you will be able to move around the pool freely once installed.
Remove all grass and uneven top soil and level the area. This step is very important to ensure that all pool components fit together perfectly and are level during the installation. Any slope to the ground, even 1cm difference, will cause your water level to be uneven - resulting in uneven pressure on the walls of the pool during use.

Doughboy Premier Round 12ft Steel Pool
Creating your Pool Floor
Your pool will be very heavy once filled - when creating the pool floor use a fine material that will not damage the liner or allow the pool to sink unevenly. Fine sand, stone dust or vermiculite are good options. Use at least 2 inches of material for the base. Again it is important that this material is levelled and compacted down - using a hand or motorised tamper. If you are installing a floor pad to protect the liner, put this in place now.
Installing Blocks, Rails and Supports
Assemble the bottom track pieces directly onto the prepared pool floor and place a few stakes around the outside to prevent the track from moving. Next, dig down an inch and set into the ground an 8” patio block under each rail connector. Ensure that the bottom track is not raised from the floor and lays flat, remaining level to the pool floor all the way around. Take several cross measurements of your bottom rail to make sure that your pool is perfectly round, or oval.
Installing the Walls, Joints, Supports and Top Rails
Keeping your stakes in place to hold the bottom track still, begin to install the wall sections as per the manufacturer's instructions - this part will require a couple of extra pairs of hands and after a few minutes, your pool will have walls! Following the instructions to install the uprights, supports and top rails.
Installing the Pool Liner & Filling The Pool
If you are using ground coves or foam liners for the pool, install these as per the manufacturer's instructions. Next, it’s time to add the pool liner. Place the box for the liner inside the pool and unfold it.
TOP TIP - The pool liner will be more pliable and easier to install if it has been kept in a warm place whilst building your pool.
Following the instructions, begin to place the edges of your liner around the top edge of the pool and smooth down the sides, removing any creases as you go. Now you can begin to fill your pool while you finish off the top rails, connectors and any face plates for the skimmer hole. Once the pool is filled, add your chlorine and check your levels, turn on your pump and heater, and you're ready to take a dip!
The savings you can make by spending a couple of days installing your above ground pool yourself is worth the work, not to mention the satisfaction of being able to tell your friends and family that you did it yourself. Check out our range of Steel Above Ground Pools online here or call our friendly team today on 01403 800325!


